This was a little project that I made up in my head in which the end product turned out great, but the process was more difficult than anticipated.
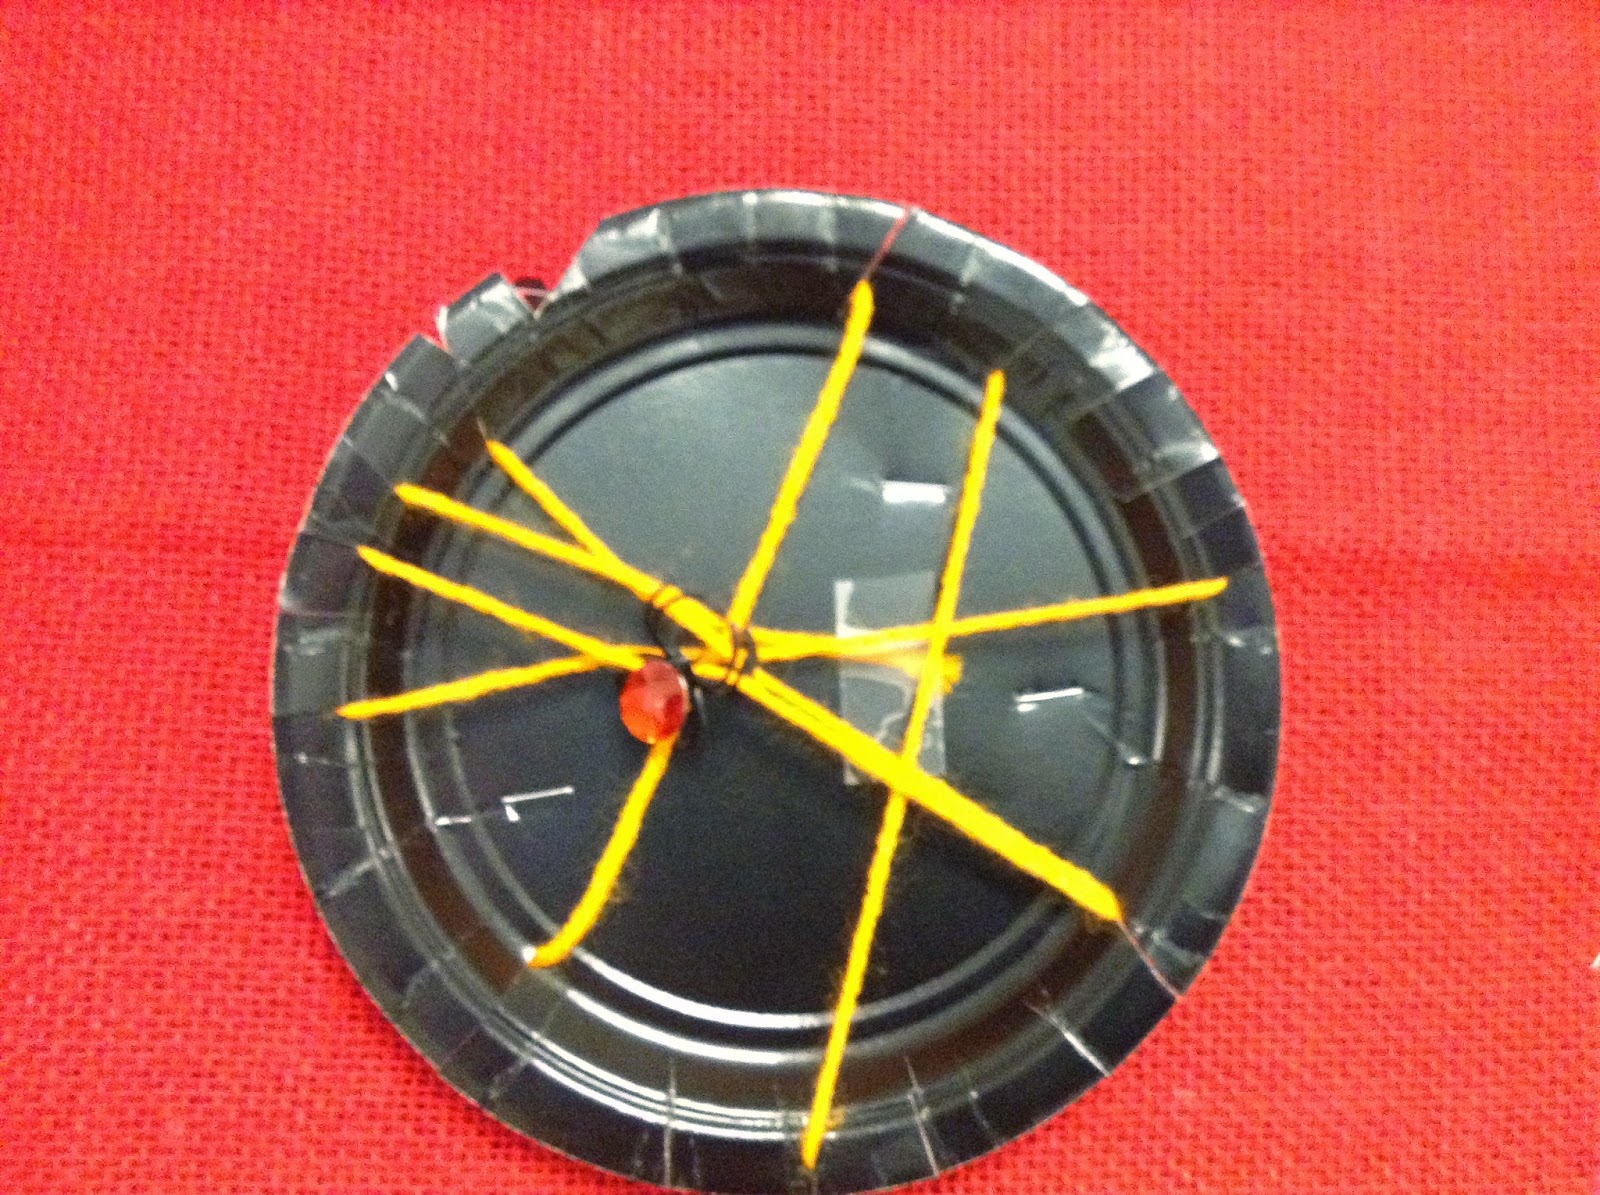
So........I'm always trying to think of projects for the littles to do that incorporate cutting skills. I had some black paper plates on hand and came up with the idea of having them snip the rim of the plate, then wind yarn across it to form a "web". I planned this project for a day that I had a sub, so I was not personally involved in doing the project with the littles. Mrs. DeNier and Miss Moritz informed me that they were quite surprised at how much difficulty the littles had in figuring out how to wrap the yarn. To structure it, we had cut a long piece of yarn and taped one end on the back. Apparently, even with a lot of prompting and guidance, this proved to be very difficult. However, it was reported that the littles were still happy and enjoyed doing the project. And since the webs look awesome in our hallway, I'm calling it a success!! They also loved picking out spider rings to hang on their webs. (Except for one little who supposedly screamed bloody murder when she saw the spider. There is no spider on her web for that very reason. ha!)
Showing posts with label Art. Show all posts
Friday, October 31, 2014
Thursday, October 30, 2014
Circle Paintings
To add a little pizzazz to our hallway bulletin board and work on learning our shapes, we did some circle paintings last week. I meant to take a photo of how we set this project up at the art table, but forgot! It's super-easy though. We simply set out various colors of neon tempera paint with a toilet paper tube in each color. We then had the littles stamp circles using the colors of their choice onto half sheets of black construction paper. The end products turned out pretty awesome!!
Friday, October 24, 2014
Jack-o-Lantern Cutting Practice
I found some great pumpkin printables at 1+1+1=1. I put out some jack-o-lantern cutting practice pages on the art shelf. The littles have enjoyed cutting out their jack-o-lantern "puzzle" on the gray line and gluing it back together on a piece of construction paper. This is great scissors practice and also gives them a lot of practice using their school tools such as a glue stick.
Thursday, October 23, 2014
Pumpkin Patch Art Project
I came up with this project to allow my littles to work on their scissors skills. That is something that many of them need to work on. They are more motivated to do this when there is a project involved. So, I cut strips of green construction paper and had them snip into one long side to make grass. Next, they used corks dipped into orange paint to make their pumpkins. We let these dry overnight. The next day, they used paintbrushes and green paint to add vines and stems to their pumpkins. I was thrilled that so many of them wanted to try this project. It's fun to see the individual variations of a "canned" art project. So many skills can be incorporated into art! I love it!! Enjoy our gallery of pumpkin patches.
Friday, October 17, 2014
Little Snail Craft Project
On Thursday we made these adorable little snail crafts. These were inspired by a couple of pins that I found on Pinterest, but when I tried to link to them I just got a photo not a blog post. I did tweak the original ideas a bit to combine a few that I liked and also to work with the materials I had on hand. For the bodies, we used little wood pieces that I THINK came from some canvases I bought a long time ago for an art project at home. Anyway, they seemed about the right size. We also used pipe cleaners, pony beads and googly eyes. You can see our materials below.
First, the littles chose a wooden piece and colored it with a marker. Then they took a pipe cleaner that had been cut in half and threaded pony beads onto it. Using their hands together to do this required great concentration on the part of the littles. Threading and bead-stringing is a fantastic way to improve fine motor skills.
The pipe cleaner was then twisted into a snail shell shape. The shell and eye stalks had to be attached using hot glue which, of course, was done by an adult. Small pieces of pipe cleaner were used as eye stalks and a googly eye was attached to the end of them. Uber-cute!! We are super crazy about snails!!
First, the littles chose a wooden piece and colored it with a marker. Then they took a pipe cleaner that had been cut in half and threaded pony beads onto it. Using their hands together to do this required great concentration on the part of the littles. Threading and bead-stringing is a fantastic way to improve fine motor skills.
The pipe cleaner was then twisted into a snail shell shape. The shell and eye stalks had to be attached using hot glue which, of course, was done by an adult. Small pieces of pipe cleaner were used as eye stalks and a googly eye was attached to the end of them. Uber-cute!! We are super crazy about snails!!
Monday, October 13, 2014
Handprint Apple Trees
We made handprint apple trees during our week of talking about food that comes from trees. We had wondered if any of the littles would be really opposed to having their hands painted, but only one did not want to do this project.
We painted their hands with green tempera paint and used 3-4 handprints for the "crown" of the tree. Then we let them each paint a trunk with brown tempera paint. After these dried overnight, we used corks and red tempera paint to add apples to the trees. These turned out really cute!!
Thursday, October 9, 2014
More than just a box
So, I have to confess something: I have a thing for cardboard boxes. I have my youngest son to thank for this little affinity. From a very young age, he has wanted to keep nearly every box that enters our home. He always has great plans for the boxes and uses his imagination and creativity to make wonderful projects with them. We have gone through many cardboard "treasures" over the years. For more amazing cardboard inspiration, be sure to check out Caine's Arcade. I discovered this over the summer and it is worth seeing. Pretty amazing stuff.
Given this cardboard passion of mine, it should come as no surprise that I happily acquired a large cardboard box from our school custodian last week. The conversation went something like this:
Ken: (walking down the stairs as I was walking up) Do you want this box?
Miss Moritz: (hearing Ken) No.
Mrs. Lambert (that's me!): YES!!!!!! I totally want that box. Give it to me right now.
Ken: What are you going to do with it?
Me: I don't know yet. Something awesome.
Since we have been studying trees, I immediately decided that we needed to make a tree-house/tree fort with the box. So, the next day I plopped that bad boy in the middle of our art table and let the littles go to town painting it with brown paint. It was interesting how my morning and afternoon class approached this task quite differently. My morning littles were excited about painting the box, but lost interest in it quickly. My afternoon littles, on the other hand, were quite determined to cover the remaining "tan" areas of the box with the brown paint and worked the entire centers time on painting it. I was happy to overhear one little say to another little, while painting, "We're having a great day, aren't we, Charlie?" This innocent little comment reminded me of how much we all (bigs and littles alike) love to be swept up in a project. It makes us feel important and vital. It fuels our energy and our souls.
Miss Moritz (our resident artiste) generously decided to take the box home for the weekend after the littles painted the sides and top. She put the finishing touches on the box and turned it into an amazing playspace that I'm sure the littles will enjoy very much over the next couple of weeks.
So, the next several photos illustrate the evolution of the box. The littles had fun slapping brown paint all over it. And the afternoon littles voted to determine what color the doors of the fort would be painted (purple!). I used a box cutter to cut a little flap into the side where they can peek out. This has upped the fun factor quite tremendously. This little fort has been rocking from all the play action it has had!!
Given this cardboard passion of mine, it should come as no surprise that I happily acquired a large cardboard box from our school custodian last week. The conversation went something like this:
Ken: (walking down the stairs as I was walking up) Do you want this box?
Miss Moritz: (hearing Ken) No.
Mrs. Lambert (that's me!): YES!!!!!! I totally want that box. Give it to me right now.
Ken: What are you going to do with it?
Me: I don't know yet. Something awesome.
Since we have been studying trees, I immediately decided that we needed to make a tree-house/tree fort with the box. So, the next day I plopped that bad boy in the middle of our art table and let the littles go to town painting it with brown paint. It was interesting how my morning and afternoon class approached this task quite differently. My morning littles were excited about painting the box, but lost interest in it quickly. My afternoon littles, on the other hand, were quite determined to cover the remaining "tan" areas of the box with the brown paint and worked the entire centers time on painting it. I was happy to overhear one little say to another little, while painting, "We're having a great day, aren't we, Charlie?" This innocent little comment reminded me of how much we all (bigs and littles alike) love to be swept up in a project. It makes us feel important and vital. It fuels our energy and our souls.
Miss Moritz (our resident artiste) generously decided to take the box home for the weekend after the littles painted the sides and top. She put the finishing touches on the box and turned it into an amazing playspace that I'm sure the littles will enjoy very much over the next couple of weeks.
So, the next several photos illustrate the evolution of the box. The littles had fun slapping brown paint all over it. And the afternoon littles voted to determine what color the doors of the fort would be painted (purple!). I used a box cutter to cut a little flap into the side where they can peek out. This has upped the fun factor quite tremendously. This little fort has been rocking from all the play action it has had!!
Sunday, October 5, 2014
Mucus Trail
As you know, we are enamored with snails. So enamored, in fact, that we are doing snail art projects now in honor of our class snails.
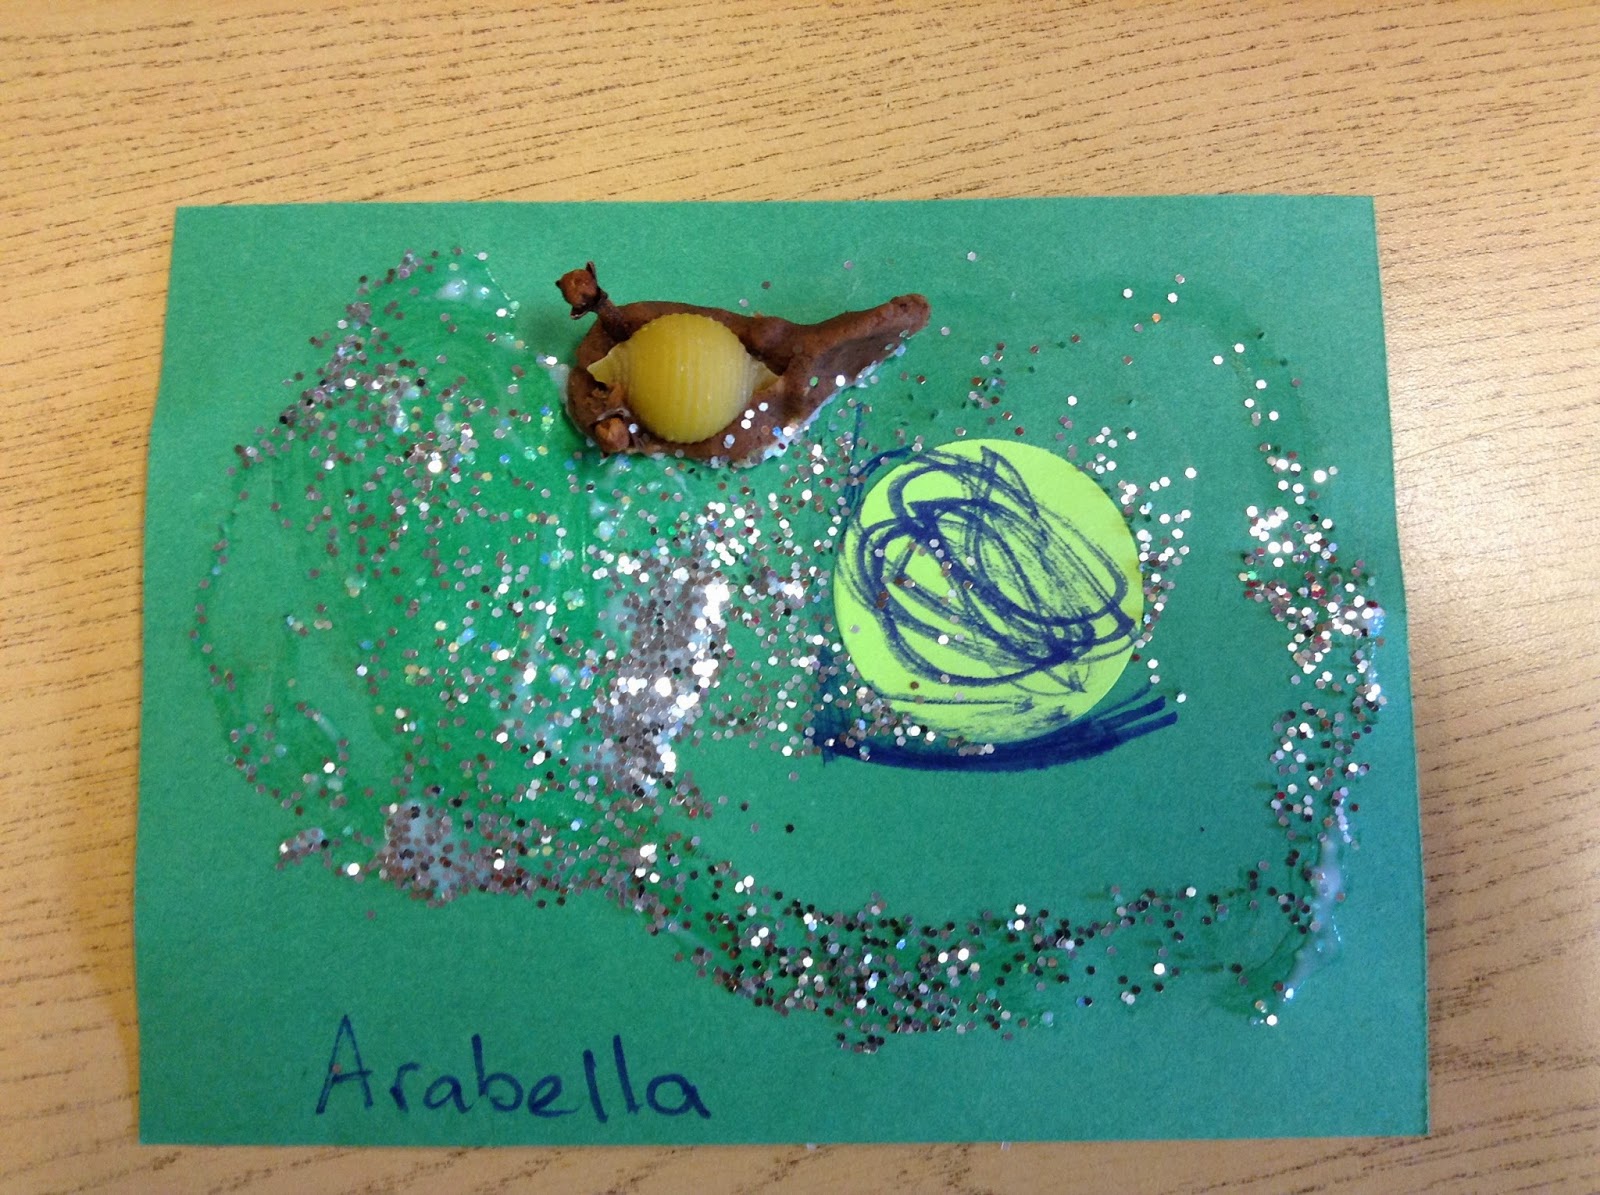
Credit for this project goes entirely to Mrs. DeNier. She has been wanting to do a project wherein the littles could create a mucus trail like our real snails make. She came up with the amazingly awesome idea to make a playdough snail, dip it in glue, and glide it across a piece of paper, leaving behind a "mucus" trail. The mucus trail is then sprinkled with glitter because, in fact, real mucus trails are a bit iridescent when they dry. Not kidding.
In addition to providing construction paper, playdough snail-making supplies, glue and glitter, we gave the littles the option of making a snail for their trail using circles we had punched from construction paper. They then used markers to add details such as eye stalks and feet (the squishy part of the bottom of the snail that glides along is its foot for those of you who are not up on snail anatomy). Some littles opted to add their playdough snails as part of their finished project, and this worked great too.
The photos below show a mucus trail project in process as well as some finished artwork. The last photo shows that we hung our snail trail artwork on the wall above Speedy, Carlo and Ralph. We're nice that way. Sharing the snail love!!
Credit for this project goes entirely to Mrs. DeNier. She has been wanting to do a project wherein the littles could create a mucus trail like our real snails make. She came up with the amazingly awesome idea to make a playdough snail, dip it in glue, and glide it across a piece of paper, leaving behind a "mucus" trail. The mucus trail is then sprinkled with glitter because, in fact, real mucus trails are a bit iridescent when they dry. Not kidding.
In addition to providing construction paper, playdough snail-making supplies, glue and glitter, we gave the littles the option of making a snail for their trail using circles we had punched from construction paper. They then used markers to add details such as eye stalks and feet (the squishy part of the bottom of the snail that glides along is its foot for those of you who are not up on snail anatomy). Some littles opted to add their playdough snails as part of their finished project, and this worked great too.
The photos below show a mucus trail project in process as well as some finished artwork. The last photo shows that we hung our snail trail artwork on the wall above Speedy, Carlo and Ralph. We're nice that way. Sharing the snail love!!
Subscribe to:
Posts (Atom)