Showing posts with label Fine motor skills. Show all posts

Friday, October 31, 2014

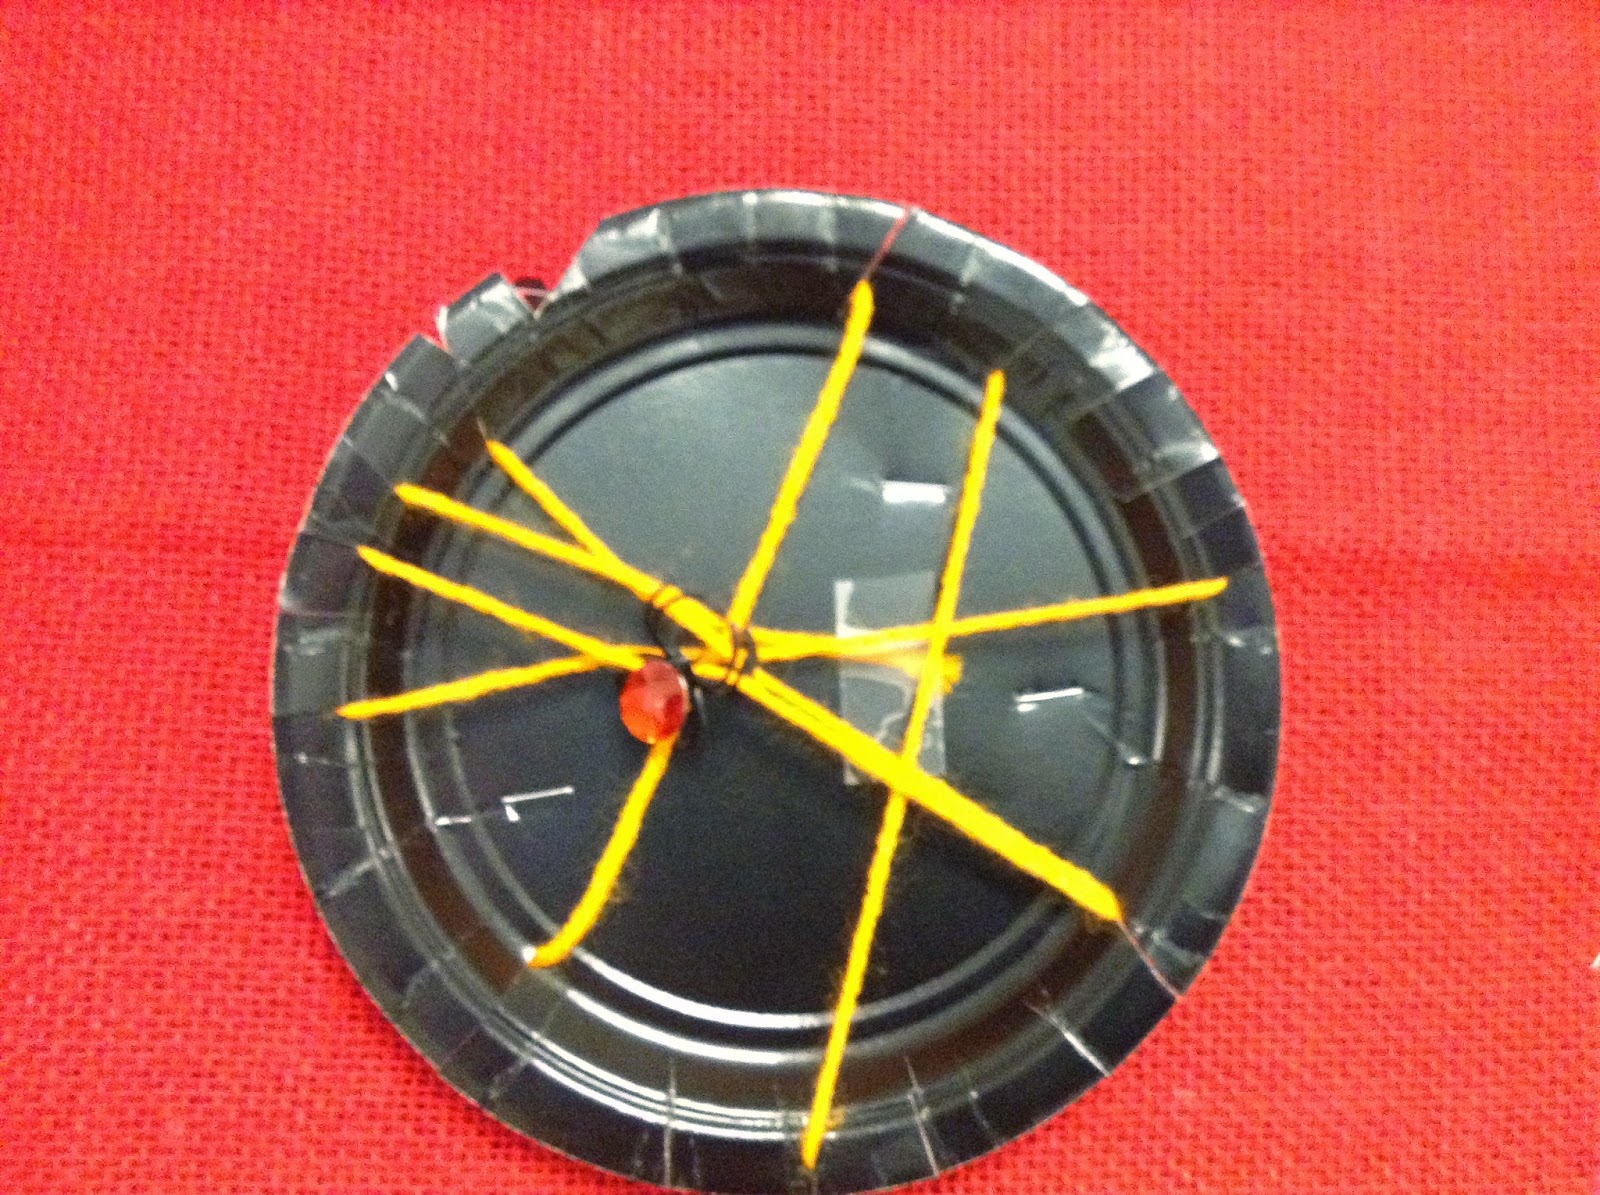
Spider Webs

This was a little project that I made up in my head in which the end product turned out great, but the process was more difficult than anticipated.

So........I'm always trying to think of projects for the littles to do that incorporate cutting skills.  I had some black paper plates on hand and came up with the idea of having them snip the rim of the plate, then wind yarn across it to form a "web".  I planned this project for a day that I had a sub, so I was not personally involved in doing the project with the littles.  Mrs. DeNier and Miss Moritz informed me that they were quite surprised at how much difficulty the littles had in figuring out how to wrap the yarn.  To structure it, we had cut a long piece of yarn and taped one end on the back.  Apparently, even with a lot of prompting and guidance, this proved to be very difficult.  However, it was reported that the littles were still happy and enjoyed doing the project.  And since the webs look awesome in our hallway, I'm calling it a success!!  They also loved picking out spider rings to hang on their webs.  (Except for one little who supposedly screamed bloody murder when she saw the spider.  There is no spider on her web for that very reason.  ha!)


Friday, October 24, 2014

Jack-o-Lantern Cutting Practice

I found some great pumpkin printables at 1+1+1=1.  I put out some jack-o-lantern cutting practice pages on the art shelf.  The littles have enjoyed cutting out their jack-o-lantern "puzzle" on the gray line and gluing it back together on a piece of construction paper.  This is great scissors practice and also gives them a lot of practice using their school tools such as a glue stick.


Thursday, October 23, 2014

Pumpkin Patch Art Project

I came up with this project to allow my littles to work on their scissors skills.  That is something that many of them need to work on.  They are more motivated to do this when there is a project involved.  So, I cut strips of green construction paper and had them snip into one long side to make grass.  Next, they used corks dipped into orange paint to make their pumpkins.  We let these dry overnight.  The next day, they used paintbrushes and green paint to add vines and stems to their pumpkins.  I was thrilled that so many of them wanted to try this project.  It's fun to see the individual variations of a "canned" art project.  So many skills can be incorporated into art!  I love it!!  Enjoy our gallery of pumpkin patches.


Friday, October 17, 2014

Little Snail Craft Project

On Thursday we made these adorable little snail crafts.   These were inspired by a couple of pins that I found on Pinterest, but when I tried to link to them I just got a photo not a blog post.  I did tweak the original ideas a bit to combine a few that I liked and also to work with the materials I had on hand.  For the bodies, we used little wood pieces that I THINK came from some canvases I bought a long time ago for an art project at home.  Anyway, they seemed about the right size.  We also used pipe cleaners, pony beads and googly eyes.  You can see our materials below.


First, the littles chose a wooden piece and colored it with a marker.  Then they took a pipe cleaner that had been cut in half and threaded pony beads onto it.  Using their hands together to do this required great concentration on the part of the littles.  Threading and bead-stringing is a fantastic way to improve fine motor skills. 

The pipe cleaner was then twisted into a snail shell shape.  The shell and eye stalks had to be attached using hot glue which, of course, was done by an adult.  Small pieces of pipe cleaner were used as eye stalks and a googly eye was attached to the end of them.  Uber-cute!!  We are super crazy about snails!!


Friday, October 10, 2014

Leaf Stringing

Today's post is about a simple little fine motor activity that I put together for the littles to go with our tree unit.  I have used this activity previously (a different one, but similar) in my Montessori classroom several years ago.

To make this activity, you will need a package of silk leaves (these can be found almost anywhere this time of year, even the dollar store), a ribbon with buttons attached to each end, and a container for storing the materials.  I found an adorable felt bucket with felt leaves on it at the Target Dollar Spot.

Sewing a button on each end of the ribbon prevents the leaves from slipping off and also helps provide something more sturdy to poke the ribbon through.  You will need to cut a small slit into each leaf.  The second photo shows this.

To do this activity, the littles simply string all the leaves on the ribbon.  It is a great activity for using their fine motor skills such as pincer grasp and working with both hands together.


Tuesday, October 7, 2014

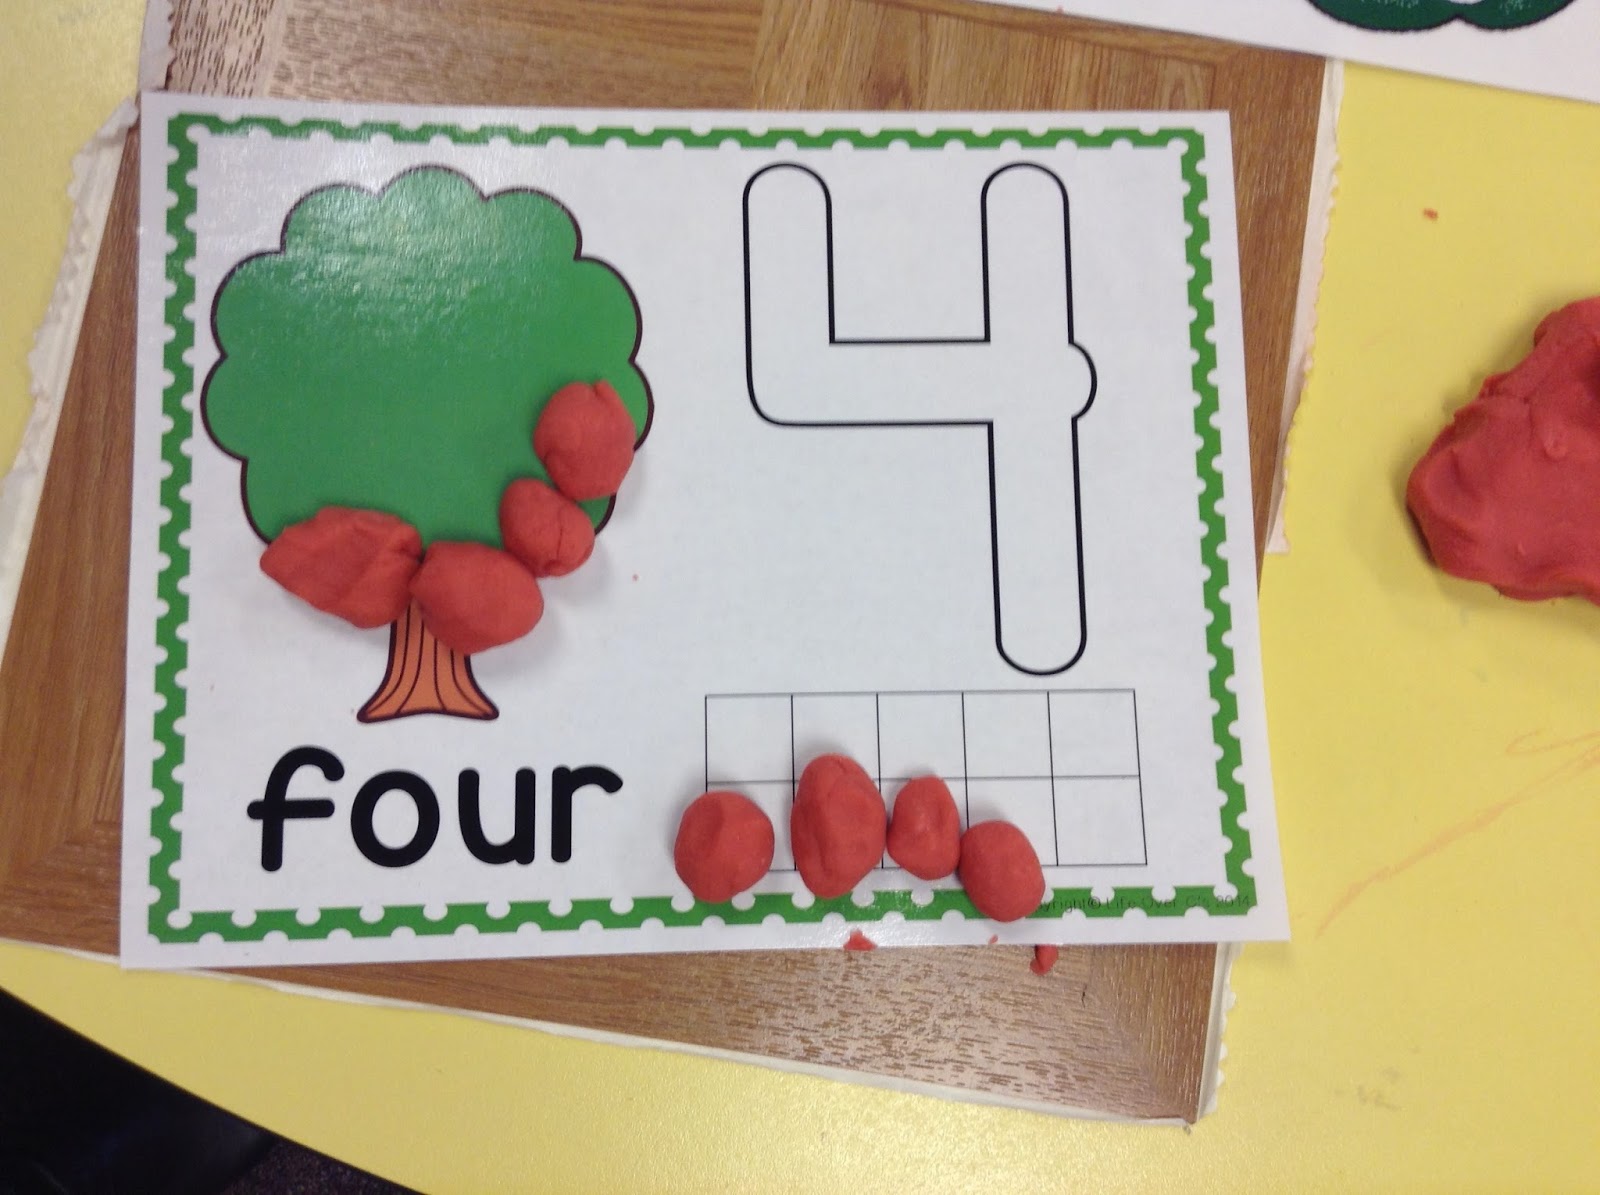
Apple Scented Playdough

I love to make homemade playdough for the littles and have my go-to recipe which is the cooked one with flour, salt, water, oil, and cream of tartar (plus add-ins like glitter, scents, food coloring).  I came across a "tweak" to this recipe on Pinterest that I knew would be perfect for us this week since we are learning about what kinds of food comes from trees.  The genius ingredient for making amazing apple-scented playdough is......... apple shampoo.  Who knew???  CLICK HERE for the recipe.  I was super happy with this playdough.  It is very, very soft and smells AH-Mazing.  The littles loved playing with it. 

We used our apple playdough on some apple tree playdough mats that I found HERE and printed and laminated.


Saturday, October 4, 2014

Drawing Leaves on the Tree

To reinforce our learning about the parts of a tree (roots, trunk, crown), I drew a tree on our dry-erase board as the children watched.  I talked out loud as I drew and mentioned that they could draw a tree themselves at the art tables during centers time.  I started by drawing the "ground" line, then added the roots below.  Then the trunk and then the branches.  I allowed each child to come up one at a time and add leaves to the "crown" of the tree.  Not only did this make the lesson more interactive, it gave them some important fine motor practice.  For some of the littles, simply removing the lid of the dry erase marker and putting it back on when finished is a challenge.  Finding a branch and drawing a leaf on it requires not only fine motor coordination, but also visual-motor processing.  It was interesting to see how each child approached this task.  Below you can see a photo of the tree after all the littles drew leaves on it.


Wednesday, June 11, 2014

Another afternoon in the classroom

Well, I spent another afternoon in the classroom today.  I did not take any new photos of the room layout because it doesn't look a whole lot different than the last ones I posted.  I did rearrange things a bit, though.

I got good news from my new principal that I can store some of the items I don't want in the room elsewhere in the building.  I was VERY happy about this and hope that they are all moved out by the time I get back there on Monday.  That will really help me start to visualize the space a lot better.

I organized the office supplies in my desk and was thus able to empty a few more boxes, so that was good. There are just so many various boxes and so much visual clutter in the classroom that it's overwhelming.  I find it difficult to focus with so much disorganization.  I am certain that the same can be said for children in many of today's elementary classrooms that are plastered with materials, posters, and other visual clutter.  I am actually doing my final project for my college class this summer on that very topic.  I am very passionate about classroom design and hope that my vision for this new space can be actualized.

I did snap a few photos of a bead-stringing activity just to illustrate a bit of what I think about when displaying materials on a shelf.  So, here you go..........

This first photo shows how materials are typically displayed in an early childhood setting.  There is not anything inherently wrong about this.  The storage container is neatly labeled with a photo and nicely contains the materials.  


The photo below shows how I prefer to display materials.  Do you notice that the materials themselves (in this case the colored wooden beads) compete with the bright yellow of the tub for visual attention?  In the wicker basket, the colors of the lovely beads themselves draw your eye to the materials, making you want to explore further. 


Another thing to note here is that oftentimes it seems that way too much of a given material is displayed at a time.  The tub shown above was nearly half full of beads and had about 10 tangled bead strings lying on top in addition to a rubber-banded batch of pattern cards.  This can make for an overwhelming activity for the child who takes the beads off the shelf.

In contrast, the wicker basket holds fewer beads and has two bead strings.  At the beginning of the year, I wouldn't even add the pattern cards to the basket.  I like to have a variation of bead-stringing out on my classroom shelves all year round.  I change the beads out to reflect seasonal or holiday themes and colors.  I also start the year with larger beads, and swap them out for smaller ones later in the year when the children's fine-motor skills are more refined. I would then also add the pattern cards later in the year.