Wednesday, October 8, 2014

Chicka Chicka Boom Boom Tree

So, I pinned a project on Pinterest that I've been wanting to make for a while, and I finally got it done! I cannot find a link to my inspiration for this project, and I forgot to take photos of the project in progress.  However, it was SUPER easy. 

First, I had to acquire two metal coffee cans.  This was actually more difficult than you might imagine.  My husband drinks coffee, but his coffee comes in the plastic containers.  I put out a post on my personal FB page and was able to get two cans from my friend, Tammie.  THANKS, Tammie!!

I removed the plastic lid from one can and placed the other can on top of it.  Then I attached the cans together with a piece of duct tape.  I had some wood-grain Contact paper on hand and used this to cover the two cans.

For the top, I used a utility knife to cut two Xs in the plastic lid.  I had purchased two stems of fake greenery from Dollar Tree.  I just pushed the stems through the Xs and that has seemed to hold them in place so far.

I had read the book Chicka Chicka Boom Boom to the littles previously so they were familiar with it.  When I introduced the tree, I passed out a few lowercase magnetic letters to each child.  As I read each page aloud, they came up and placed the corresponding letters on the tree trunk.  From now on, the tree will be available (along with the book) for them to play with during centers time.


Tuesday, October 7, 2014

Apple Scented Playdough

I love to make homemade playdough for the littles and have my go-to recipe which is the cooked one with flour, salt, water, oil, and cream of tartar (plus add-ins like glitter, scents, food coloring).  I came across a "tweak" to this recipe on Pinterest that I knew would be perfect for us this week since we are learning about what kinds of food comes from trees.  The genius ingredient for making amazing apple-scented playdough is......... apple shampoo.  Who knew???  CLICK HERE for the recipe.  I was super happy with this playdough.  It is very, very soft and smells AH-Mazing.  The littles loved playing with it. 

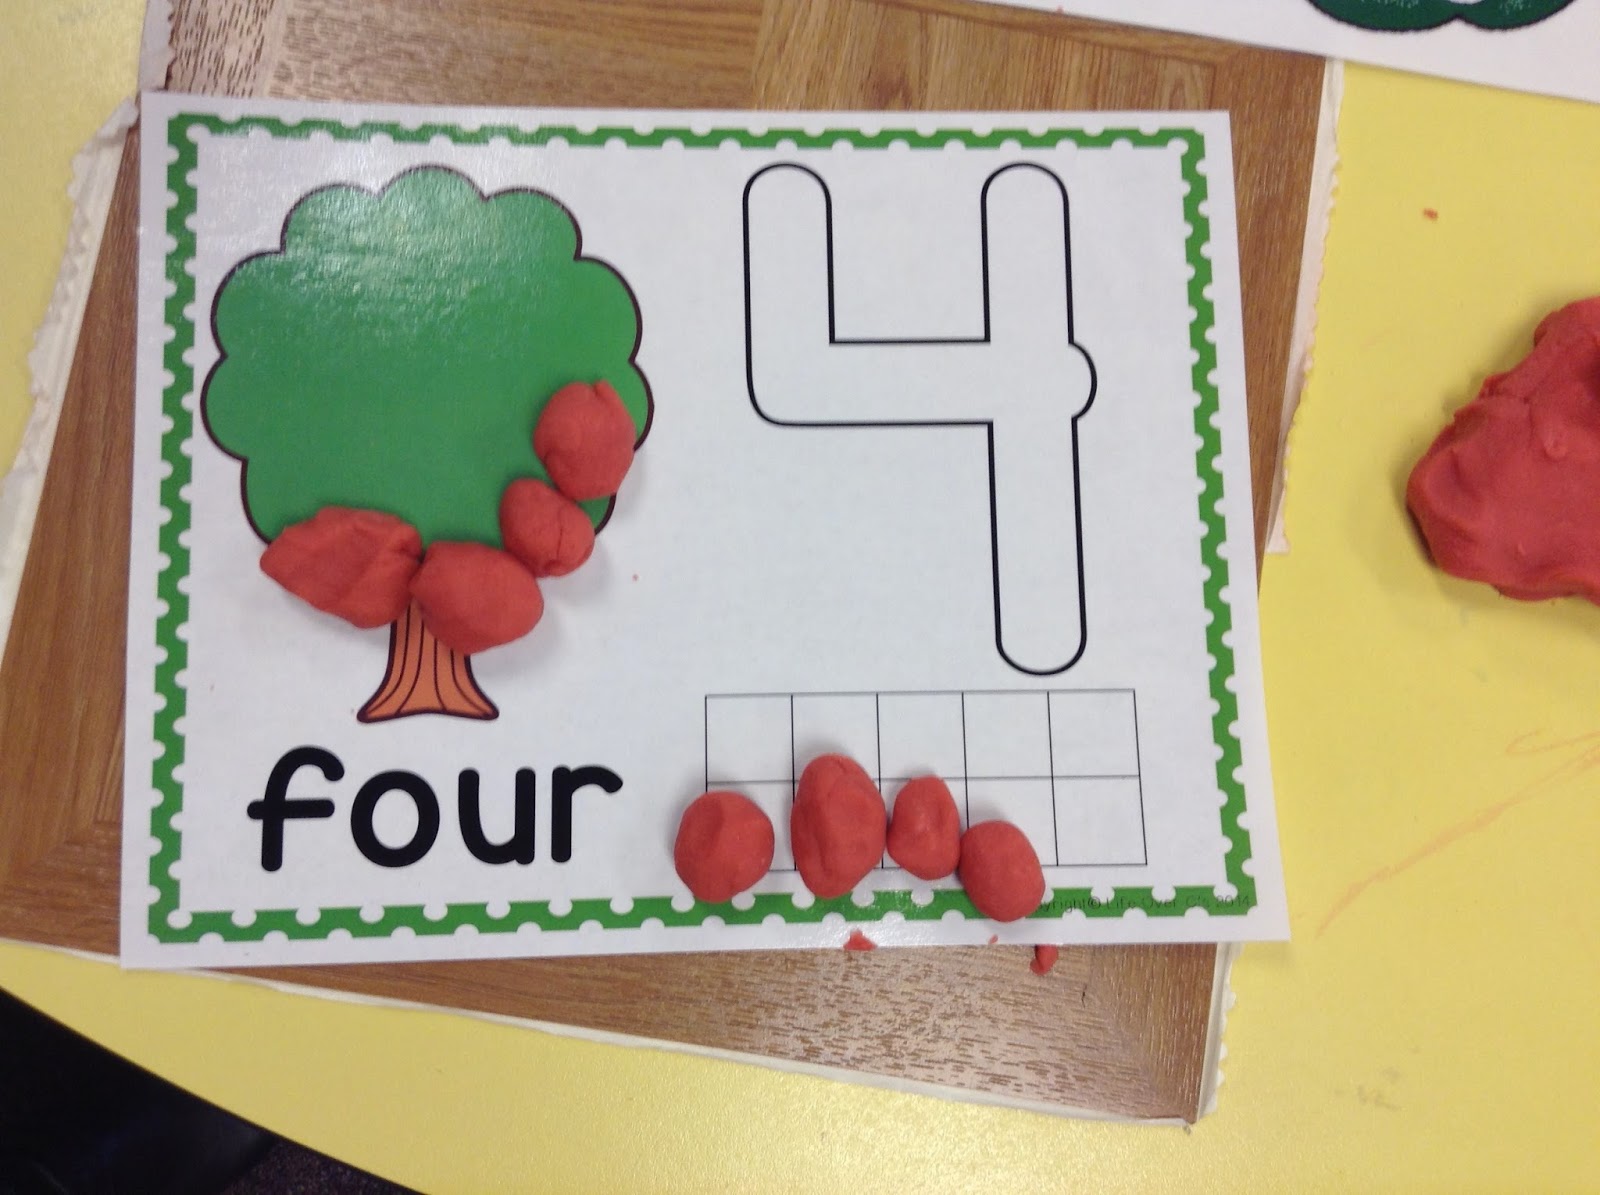
We used our apple playdough on some apple tree playdough mats that I found HERE and printed and laminated.


Monday, October 6, 2014

Our Classroom Tree

We are still studying trees.  I challenged Mrs. DeNier and Miss Moritz to create a 3D tree on our classroom wall.  (Truth:  I wanted the tree but didn't want to do it myself.)  They did a FABULOUS job.   Luckily we have die-cut machines in our school (spoiled!!), so we punched out a bunch of shapes from various colors of construction paper.  Then, I put out plates with blobs of tempera paint in fall colors and let the littles go to town painting their fall leaves.  We use vinyl floor tiles to contain our painting and playdough projects.  This works really well!!


Here is what our tree looked like with one lonely little leaf on it. 


After adding our painted leaves, the littles made ladybugs (one of the stories in our curriculum is The Grouchy Ladybug by Eric Carle) to live in our tree.  They turned out so cute.


Here is our tree with ladybugs and fall leaves.  We will make some more leaves to add as well as some other creatures to live in the tree.  We're thinking about leaving the tree up all year.  After the leaves "fall", we can add snow to the branches for winter and maybe make some cardinals and chickadees to live in it.  We'll see.  Oh, the possibilities!!

The next photo shows our class owl, Hooty, hanging out in the tree.  I bought him at the Target Dollar Spot.  We LOVE him so much.  He is way cute, and really fun for the littles to push around in the shopping cart, 'cuz his legs stick out way long.  :-)


Can you spot Hooty in the tree?

Sunday, October 5, 2014

Mucus Trail

As you know, we are enamored with snails. So enamored, in fact, that we are doing snail art projects now in honor of our class snails.

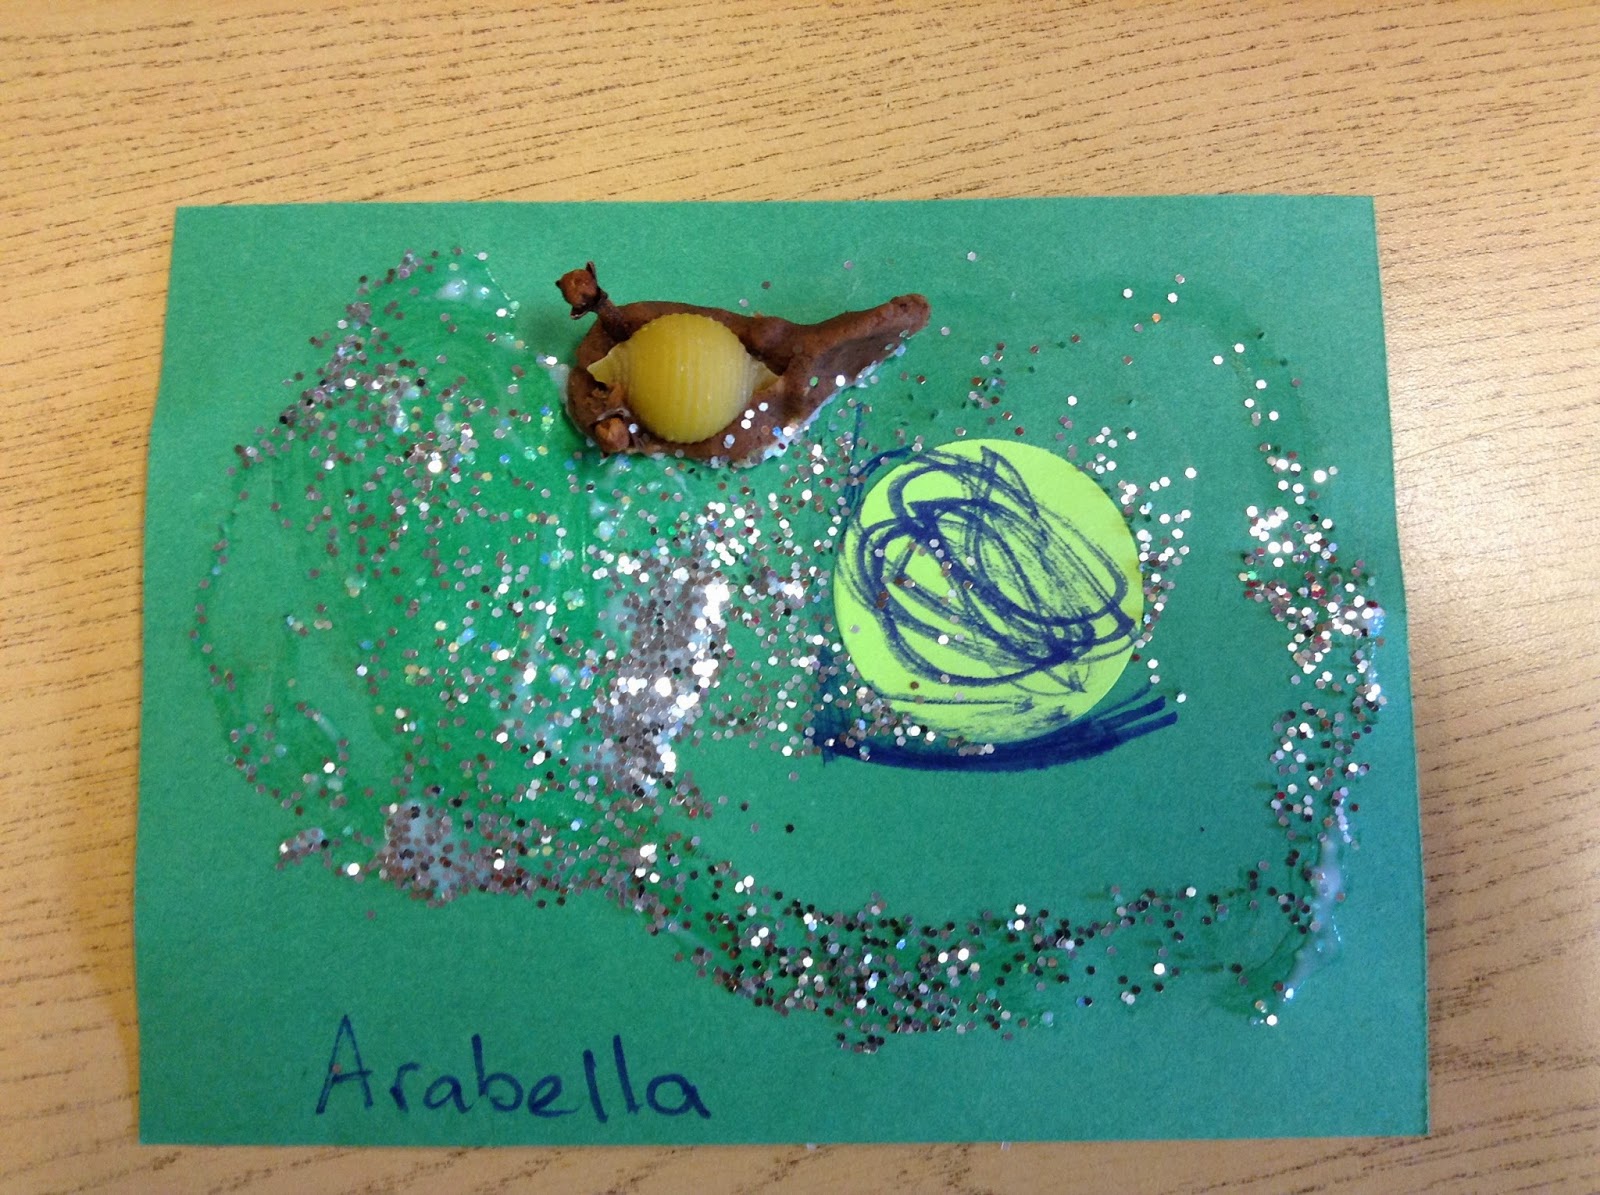
Credit for this project goes entirely to Mrs. DeNier.  She has been wanting to do a project wherein the littles could create a mucus trail like our real snails make.  She came up with the amazingly awesome idea to make a playdough snail, dip it in glue, and glide it across a piece of paper, leaving behind a "mucus" trail.  The mucus trail is then sprinkled with glitter because, in fact, real mucus trails are a bit iridescent when they dry.  Not kidding. 

In addition to providing construction paper, playdough snail-making supplies, glue and glitter, we gave the littles the option of making a snail for their trail using circles we had punched from construction paper.  They then used markers to add details such as eye stalks and feet (the squishy part of the bottom of the snail that glides along is its foot for those of you who are not up on snail anatomy).   Some littles opted to add their playdough snails as part of their finished project, and this worked great too.

The photos below show a mucus trail project in process as well as some finished artwork.  The last photo shows that we hung our snail trail artwork on the wall above Speedy, Carlo and Ralph.  We're nice that way.  Sharing the snail love!!


Saturday, October 4, 2014

Drawing Leaves on the Tree

To reinforce our learning about the parts of a tree (roots, trunk, crown), I drew a tree on our dry-erase board as the children watched.  I talked out loud as I drew and mentioned that they could draw a tree themselves at the art tables during centers time.  I started by drawing the "ground" line, then added the roots below.  Then the trunk and then the branches.  I allowed each child to come up one at a time and add leaves to the "crown" of the tree.  Not only did this make the lesson more interactive, it gave them some important fine motor practice.  For some of the littles, simply removing the lid of the dry erase marker and putting it back on when finished is a challenge.  Finding a branch and drawing a leaf on it requires not only fine motor coordination, but also visual-motor processing.  It was interesting to see how each child approached this task.  Below you can see a photo of the tree after all the littles drew leaves on it.


Friday, October 3, 2014

Painting with trees!!

One of the suggested projects in the Creative Curriculum Trees unit is using tree parts as painting props.  I found some sprigs of evergreen on a tree near our school and broke them off.  To make them easier to manipulate for painting, I attached clothespins to the end of them for the children to hold onto.  I also provided each child a paper plate with white tempera paint.  They then used the evergreen sprigs as brushes to paint on colored construction paper.  The end result was really pretty, and different for every child.  As you can see in the photos below, we use vinyl floor tiles under our art projects.  This serves to not only keep our tables clean, but also defines the "work space" for each child.  I got my tiles by putting a request on Facebook for free tiles.  This is a great way to get the things you need for your classroom.  Social media has its benefits.

In hindsight, the only thing I would do differently with this activity is tape the papers down on the tiles OR use smaller sprigs of evergreen.  The huge sprigs I found were so big they kind of made the paper slide around when the kids tried to paint.  It still worked okay, but would have been even better if the paper were stabilized.


Thursday, October 2, 2014

Playdough Snails

I realize that this is not the best photo in the world, but I wanted to share a super-cute project we did this past week since we are completely enamored with SNAILS.  I found this idea HERE.  Basically you roll out a log of playdough, stick a pasta shell on the back for the shell, and use cloves for the eye stalks.  It could not be more simple.  Or more cute.  Seriously.